Looking to raise baby chicks?
If you do decide to bring home day or week-old baby chickens, it is imperative that proper care of your fragile and vulnerable chicks is taken. They are the most impressionable (and cutest) when they are very young, giving you the biggest chance to bond and train them to suit your purpose.
Young chicks need very specific feed and environmental conditions to thrive.
One of the great advantages of keeping baby chicks is that they can be kept practically anywhere.
They will grow rapidly but as they are quite small and proper care of baby chicks should be considered. While they are young it is important that you do not delay in preparing an adequate living space for them.
By around age six weeks you can transfer them to their outdoor living space.
The First 60 Days Of A Baby Chicken’s Life
The thought of raising baby chickens from scratch can be a little nerve wracking, but like everything in life – being knowledgeable and well-informed makes the process infinitely easier.
This guide to the first 60 days of a baby chickens life-should be a great help to set up your chicken for a long life of good health!
Whilst still very young, keeping them in a safe environment free from drafts as well as predators is vital.
Brooder boxes with a ceramic heat lamp is recommended in an indoor location however be prepared that chicks of all ages and sizes enjoy scratching around.
The older your chicks get, the bigger the mess will be.
Baby chicks need quality shelter from cold drafts and at the same time have ample ventilation. A cardboard box with holes or even a large plastic storage bin works well.
Ideally, a minimum of 40 square centimetres per baby chick is suffice.
Maintaining the proper temperature is also important for your baby chicks which can achieved with a heating source.
It might surprise you to discover that until they are a week old, these baby hens need the air around them to be about 35 degrees Celsius. That is why the mama hen continues to tuck them under her!
Even into the subsequent weeks of life, they still need a fairly warm environment. A great solution is an infrared heat lamp. The temperature should only gradually decrease by about five degrees per week until the babies are ready to be moved outside.
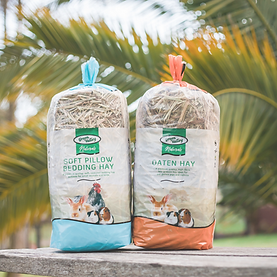
Your baby chicks will also need plenty of absorbent bedding. Baby chicks poop and they poop a lot!
You and they will be much happier if you take the time to line their living area with plenty of absorbent material. The best solution is to spread out hemp or wood shavings as bedding to about a one inch thickness. Many people try to use newspaper and discover the hard way it becomes too slippery and is not absorbent enough.
Take note; however, that you should not use cedar shavings. There are aromatic oils on cedar shavings that can irritate the sensitive lungs of baby chicks. Later on, this can cause your baby chickens to become more prone to developing respiratory problems and that is something you certainly want to avoid.
One final thing you should be aware of when preparing their living environment is the need to place some type of netting over the top of their living environment. You might be surprised to discover that baby chicks are fairly adept at flying. Even babies that are only a week old can easily fly up 30 centimetres or so. To prevent such problems, try draping some netting or even applying some chicken wire to the top of your container or brooder.
Weeks 1-2
Your little ones are freshly hatched newborns and are experiencing their first weeks in the big wide world! The baby chickens will be tiny little things (but you’ll be surprised how fast they’ll grow right before your very eyes!) After spending 24-48 hours in the incubator post-hatch, the baby chickens will be moved to your pre-prepared brooder box.
Eating and drinking
During this first two weeks, the baby chickens, that are not with a mother hen, will be very fragile and unaware of how to do…well…anything really! That means you will need to teach them how to perform the necessities like eating and drinking. This can be done by gently dipping their heads into the waterers and tapping your fingers in their feeders (simulating pecking) - it won’t be long before the baby chickens will be able to eat and drink whenever they need to by themselves.
You must feed baby chicks to they're full. You will also need to make sure your baby chicks have constant access to plenty of fresh drinking water and appropriate chick starter feed. The best solution is to use a waterer that is specifically designed for use with multiple baby chicks. You can find such waterers in a variety of sizes as well as shapes. Keep in mind that regardless of what type of waterer you choose to use, you should still plan to change the water several times per day.
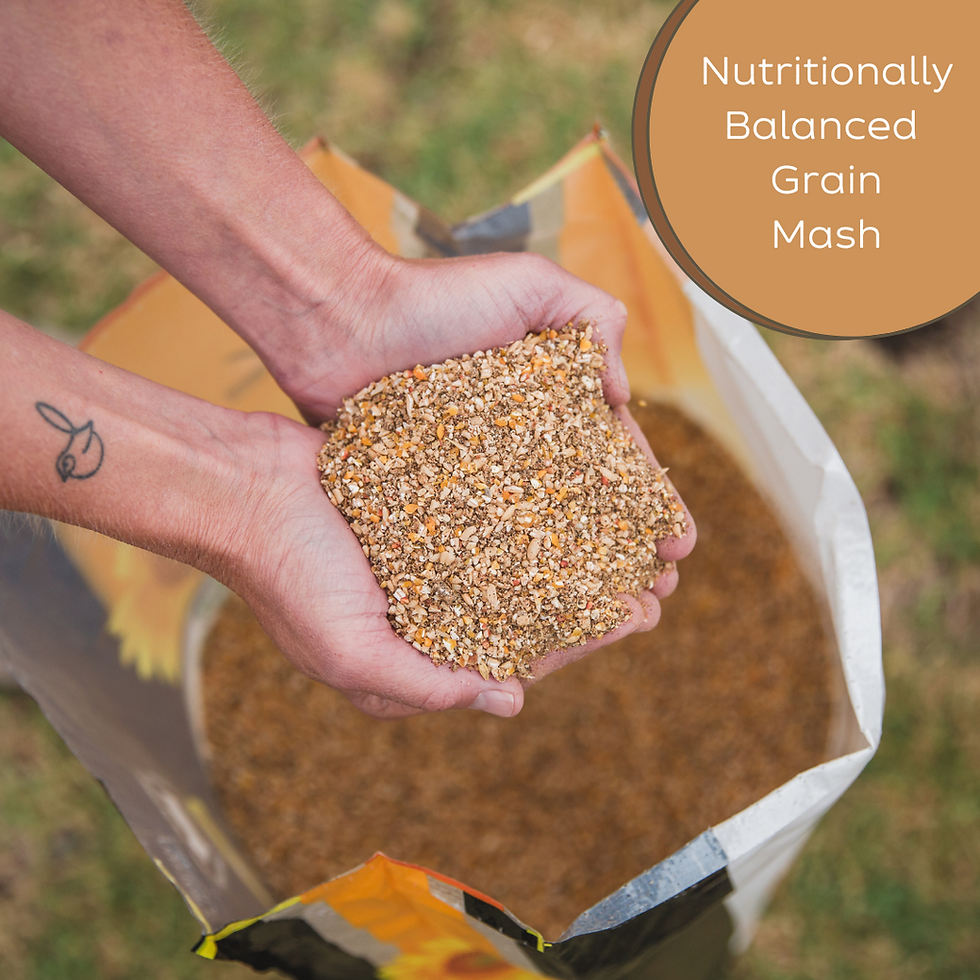
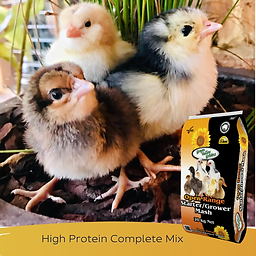
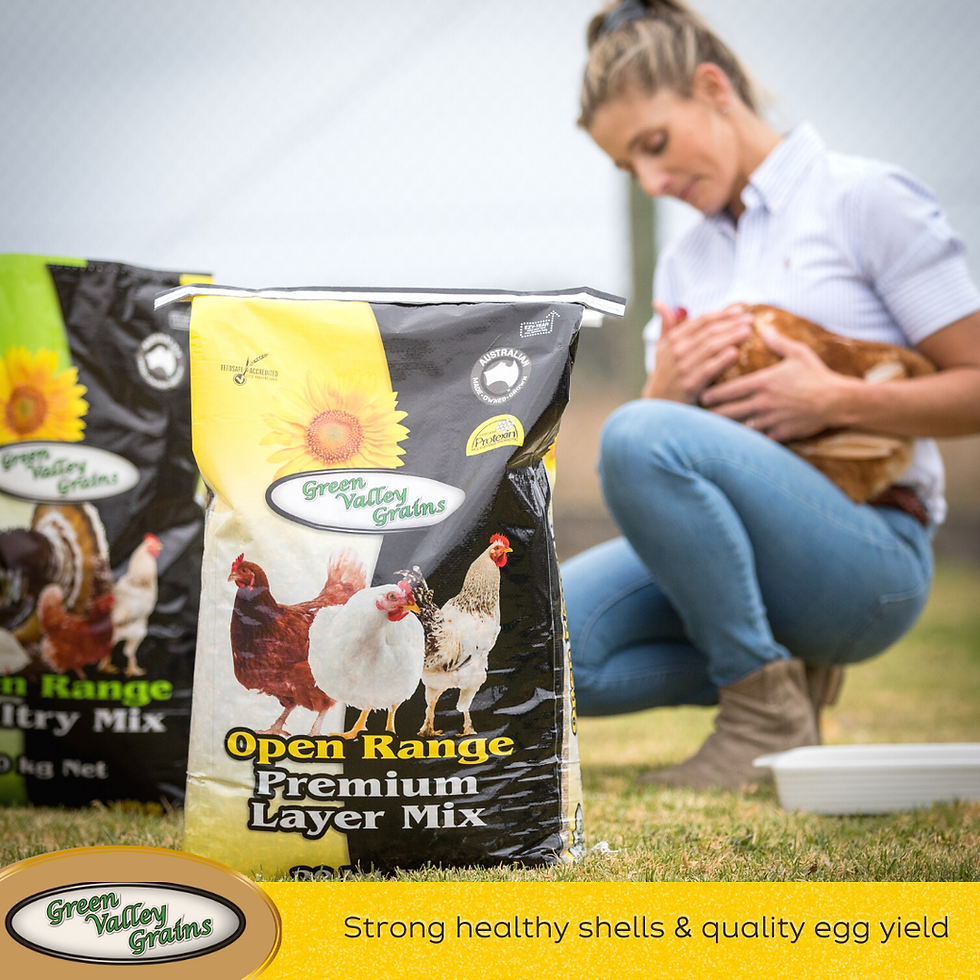
Along with a waterer, you will also need a chick feeder. Your baby chicks will also need some quality food. The best food to feed baby chicks is what is known as starter feed. This type of food has been specially formulated to provide everything your babies need. You can typically find this chick feed available as either mash or crumbles. Remember to carefully review the guidelines from the feed manufacturer to determine how long you should feed baby chicks with the starter feed. Green Valley Chick Starter Crumble is perfect for their first 6 weeks of life.
Many people often wonder whether they can start their chicks on worms, garden bugs or even kitchen scraps. While it is perfectly fine to give these items to your chicks, remember that these are supplement foods only. The starter feed will contain everything they need in terms of nutrition. You just put it in a chick feeder and leave your worries aside!
Along with feed, you will also need to provide your baby chicks with what is known as grit. Unlike other animals, chickens do not have teeth to help them grind up their food. Instead, they pick up small rocks and pebbles and store them in an area known as the crop. When they eat, those stored rocks and pebbles help to grind up their food to enable the digestion process. To assist them, you need to provide some sand, canary gravel or parakeet gravel. You should be able to find this easily at a local pet store. Try sprinkling it directly in with their food.
Starting the growing process
For these first two weeks, the baby chickens will be growing their muscles and building up their strength! At first, their legs are fragile and weak, which is why the brooder needs to be lined with strips of paper towel. This gives the baby chickens a sure footing and stable flooring for them to build up their strength, with only a few slips and spills.
Encourage handling
Want to bring up chickens that love having cuddles with your own children? If you handle your baby chickens regularly, they will become accustomed to being petted and cuddled, and won’t stress or fret as adults when you try and pick them up. In the first 7 days, it’s best to leave them be as they are such fragile little creatures – but after that, try softly picking them up and lightly stroking them for small periods of time to get the ball rolling.
Weeks 2-4
So we’re two weeks in and you’ll be amazed at how much the baby chickens have grown! They’ll virtually be double the size they were when they came out of the egg, if not larger. These two weeks are often the ‘teenage awkward’ stage – where they aren’t quite babies anymore, but aren’t fully grown either! Their feathers are a little patchy, and they’re starting to grow taller, but aren’t fluffy!
By now, you can also start giving them little bits of outside-the-brooder time (not too much, they still need the comforts of the heat lamp for a little while longer!). Don’t be surprised if they stay still in fear at first – the big wide world is quite confronting for a baby chicken! By now, the baby chickens should be eating and drinking as they please, just make sure that there’s starter feed and fresh water available to them in the brooder.
Weeks 4-6
By now you will barely be able to recognise your little baby chicks, as they have virtually tripled in size! By week 6 they’ll have a full body of feathers and look like a small version of an adult (they’ve still got a little more growing to do before they’re full sized!).
You’ll also notice that they’re looking awfully squishy in that brooder there! Week 6 is around the time you should move your little ones into their second home – a chicken coop fit for a fully grown flock! If the temperature is fairly average, then they’ll be able to last in the natural elements – plus their coop will offer them lots of ventilation which will help them adjust to their new lodgings. It’s always a good idea to get the coop before it’s time to move the baby chickens out – otherwise they’ll become so cramped in the brooder that they’ll start to stress! The size of your coop depends on how many chickens you have. If you were looking to have eight or more chickens, why not check out our Penthouse or Mansion range.
Weeks 6-8
By now your beautiful baby chickens have become young adults – or ‘pullets’ as the young ladies are now known! It will only be a few more weeks before your little baby chickens start laying their own eggs for your breakfast! Oh, how wonderful the experience is of raising baby chickens to be a fully grown flock!
One of the most important decisions you will need to make is whether you want to start with pullets or baby chicks. Pullets are hens that have just begun to lay eggs. Many people who keep chickens as pets do prefer to begin with baby chicks. They are certainly cute and starting out with baby chicks gives you the unique opportunity to bond with your babies. On the other hand, there are disadvantages of which you should be aware of.
Perhaps one of the biggest drawbacks of starting with baby chicks is that they do require far more care than full-grown chickens. You will also have to wait for your hens to begin laying. On average, it will take between 4-5 months before your hens will begin laying eggs.